Making of a Table
|
Here is another project. I built another table. This time I have documented the process, just for fun. All materials were purchased on the internet. A few week-ends of work and tada... here is the new dining table. Massive! The slabs : TheLumberShack
Black Walnut Live Edge : 2 slabs of 98" x 14" x 1.75" Everything started because Magali wanted a table longer than the previous one (72"), to have dinner with our many friends. (The middle pebble rock strip was not very handy to fit glasses and other ustensils, and really the table was not convenient with more than 4 persons at a time). Therefore, here we go again for a new adventure. Previous table that I made in 2014:
|
|
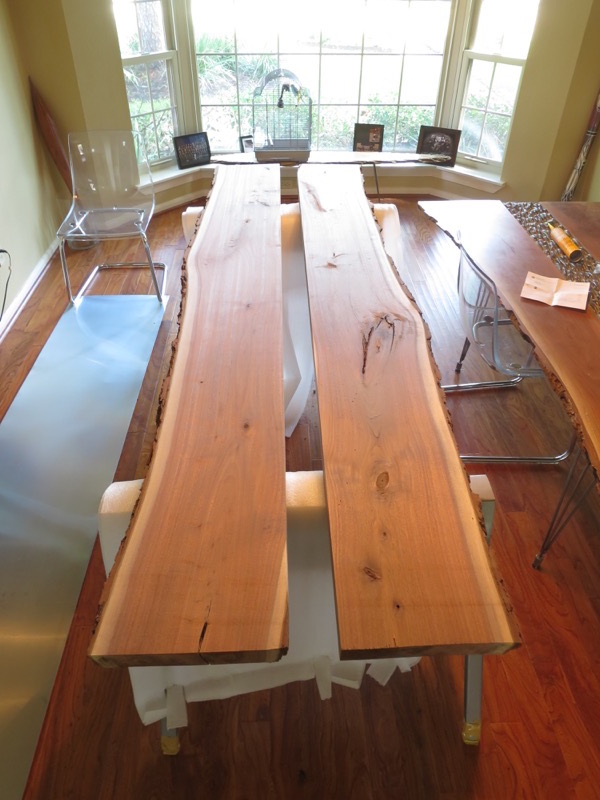
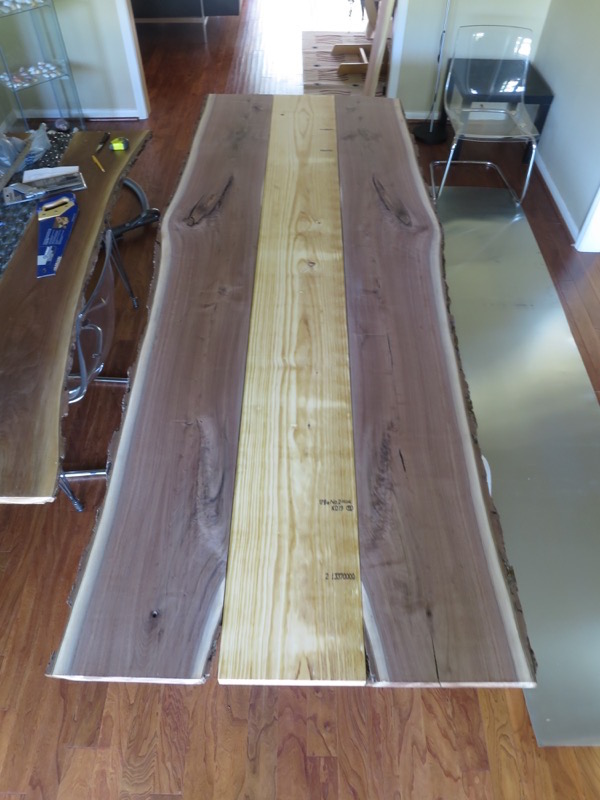
The slabs arrived in February, but stayed wrapped up till August. It took me a while to start working on that project. The most difficult part was to select the middle portion of the table and the legs. |
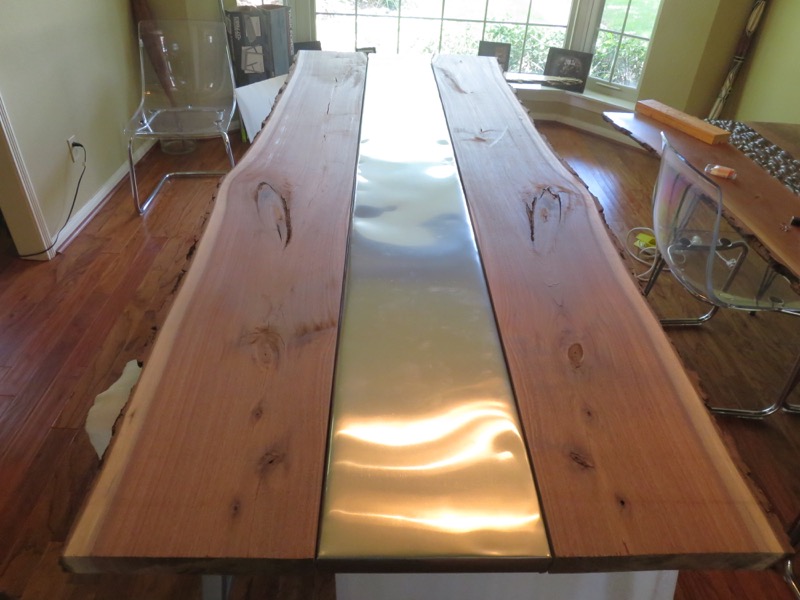
Very nice fit. A little bit of gap at one end, we will see later how it comes out. The Slabs are massive, very heavy. I am watching for my back at all time! The 1.75" thickness really makes them beautiful. |
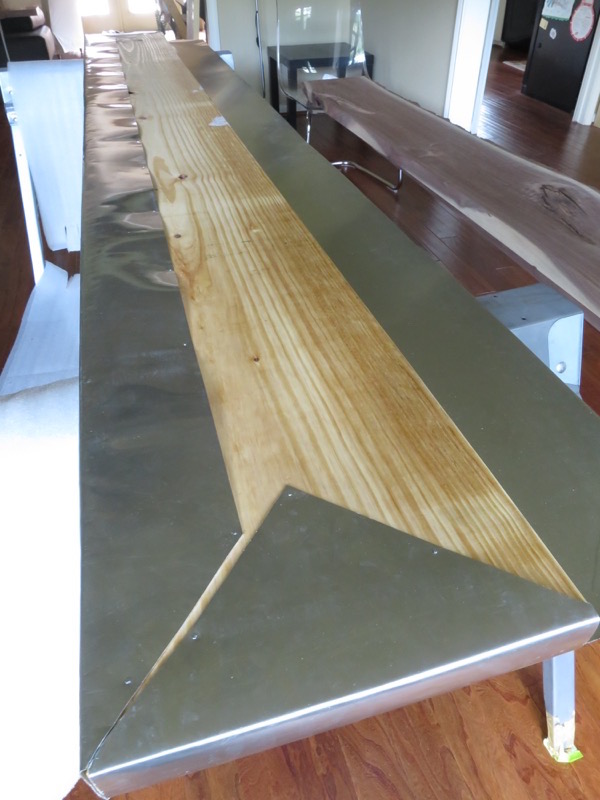
First trip to Lowes, stayed 2 hours to find the idea for the middle part. What would I put under the Zinc sheet. What would be the resulting width of the table, what proportion would like to set for the middle junction. That's it, I selected the middle slab, almost 1/3, 1/3, 1/3 ratio (Wood/Metal/Wood). |
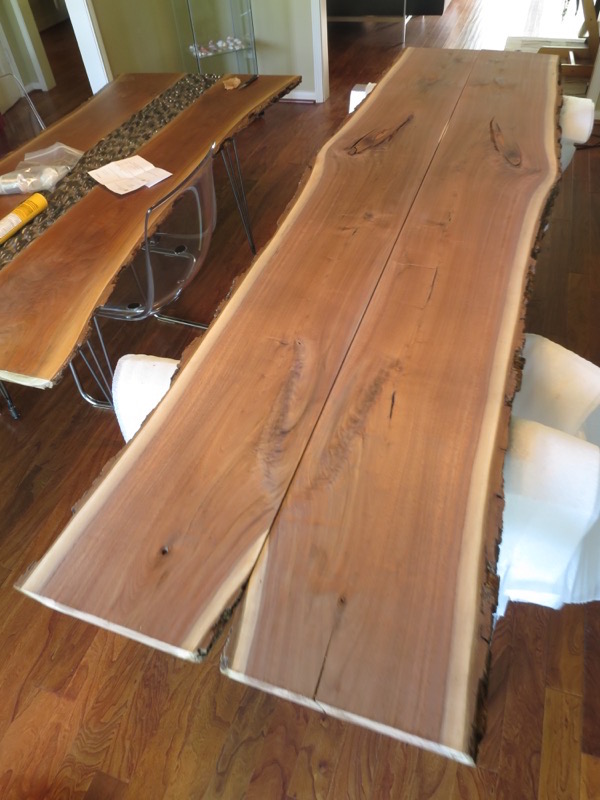
Yeah, this one is really bigger than the old one! |
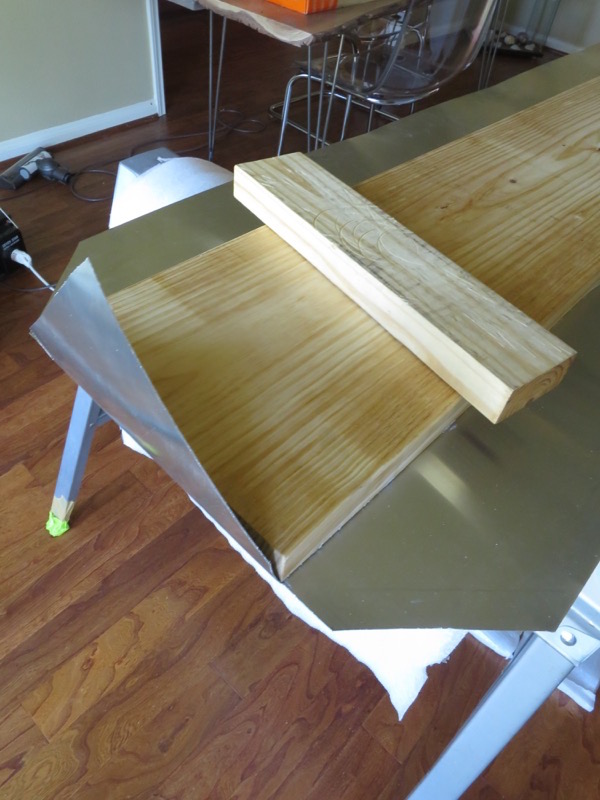
Now I have to make a nice cut to bring the middle slab to the length of the other pieces. Let's do that with a handsaw. |
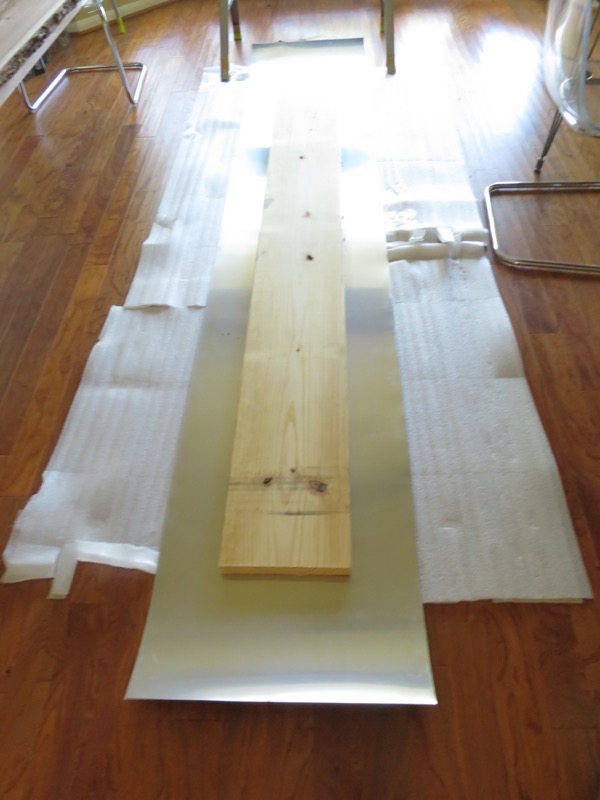
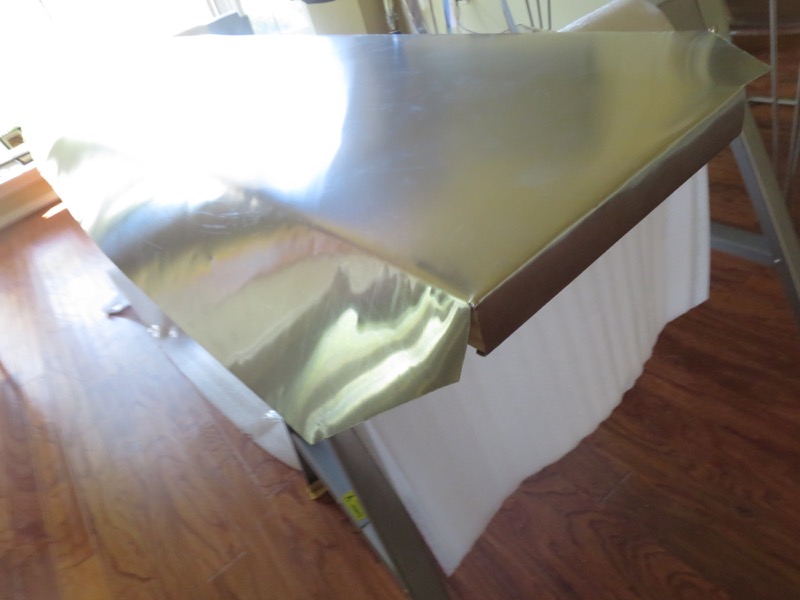
Here is the Zinc sheet next to the table. Question is, how am I going to wrap it around the middle part? |
First step, glue the Zinc to the wood! |
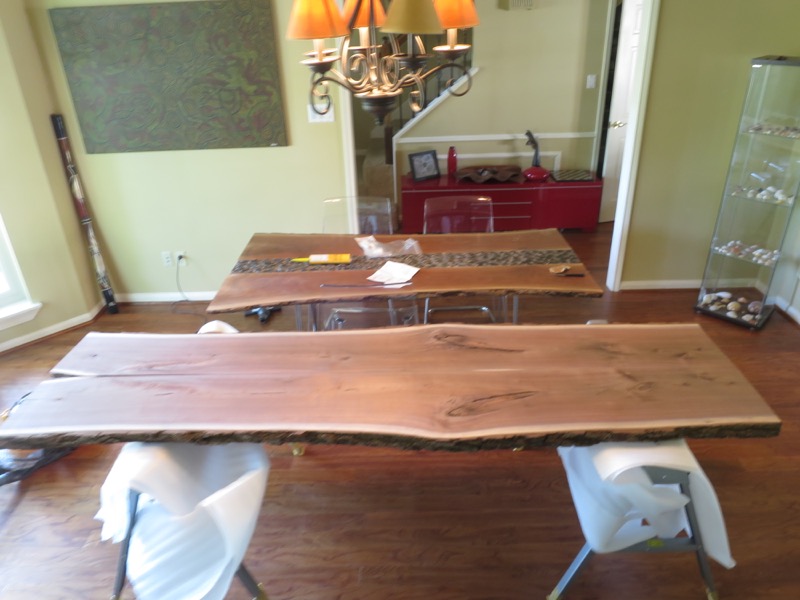
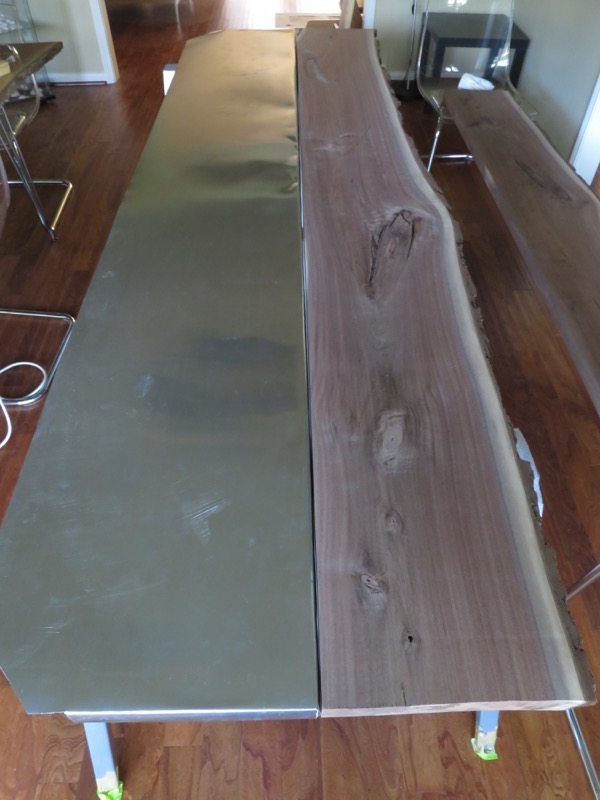
Side by Side.... not bad |
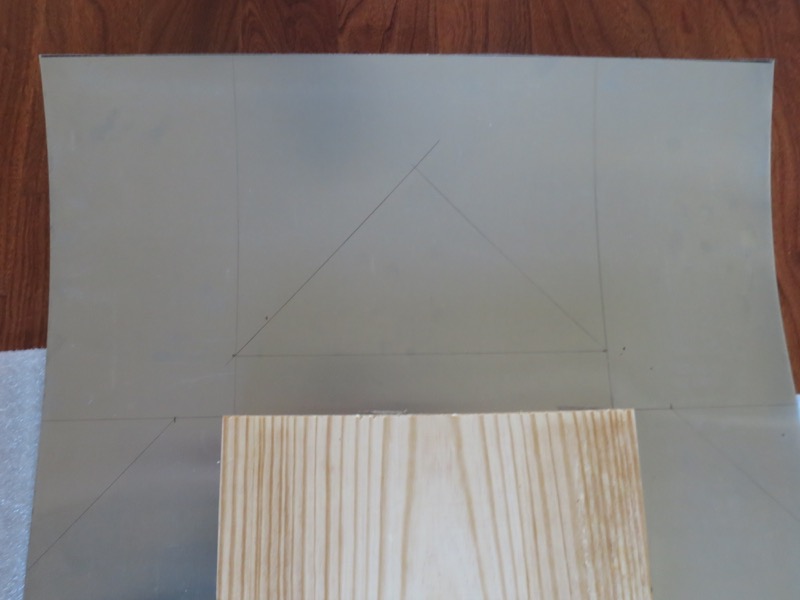
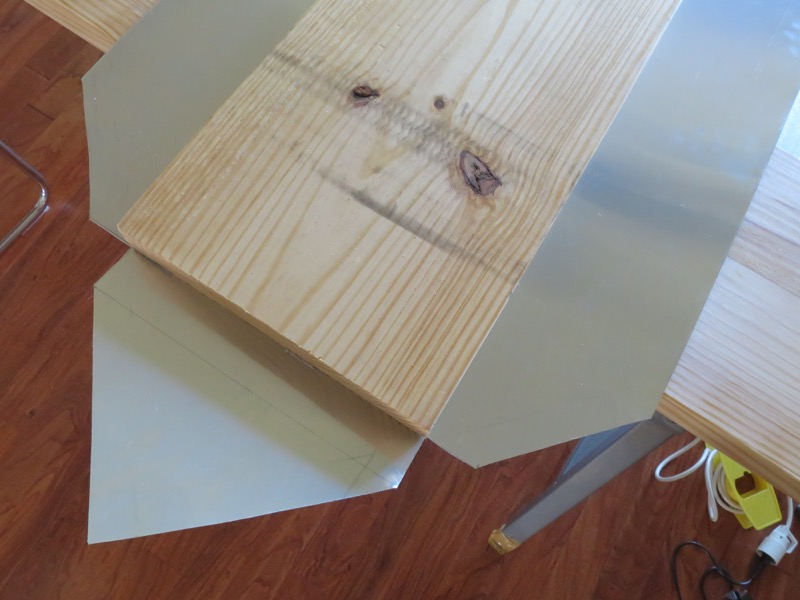
A little bit of drawing to get the shape for the folding |
After one hour, some sweat, and using a metal hand saw, I have cut only one side. Who did say that Zinc was easy to cut? So second trip to Lowe's , I will get a blade for my electric saw. Result: much better, 2 hours and all 4 sides are done. I still have all my fingers and toes! Full PPE at all time... |
Bang, bang, bang ... Hammering with the wood piece. I should have ordered a thiner Zinc sheet. Who said it was easy to ply! |
That's it, first piece done. Not too bad. |
98" , that's long! ear plugs, and bang, bang, bang.... |
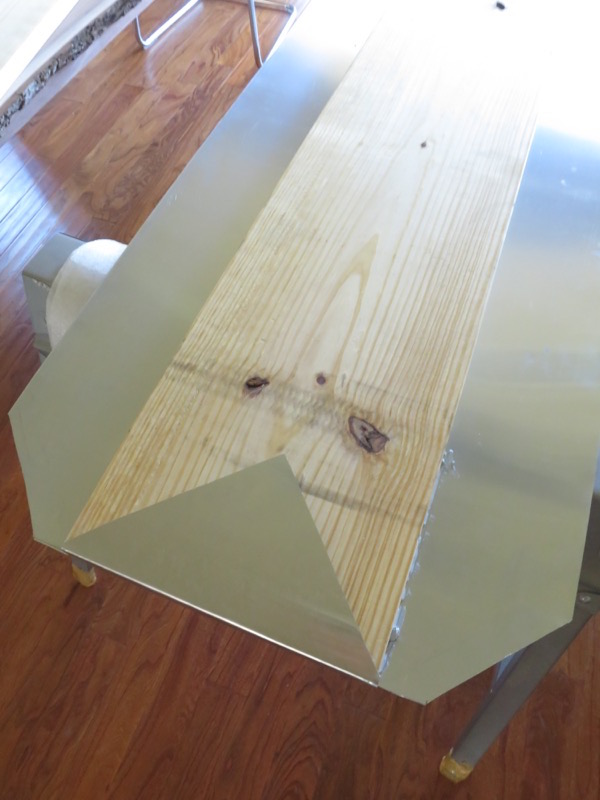
I am getting there. It is working pretty good and fairly straight. |
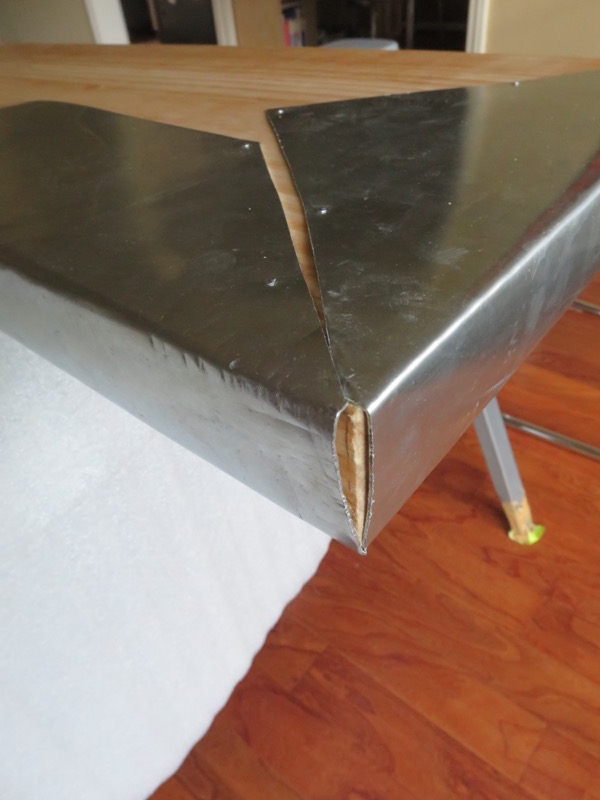
Close enough for the corners. Nails to hold everything in place. |
Once side done... now the other one. |
|
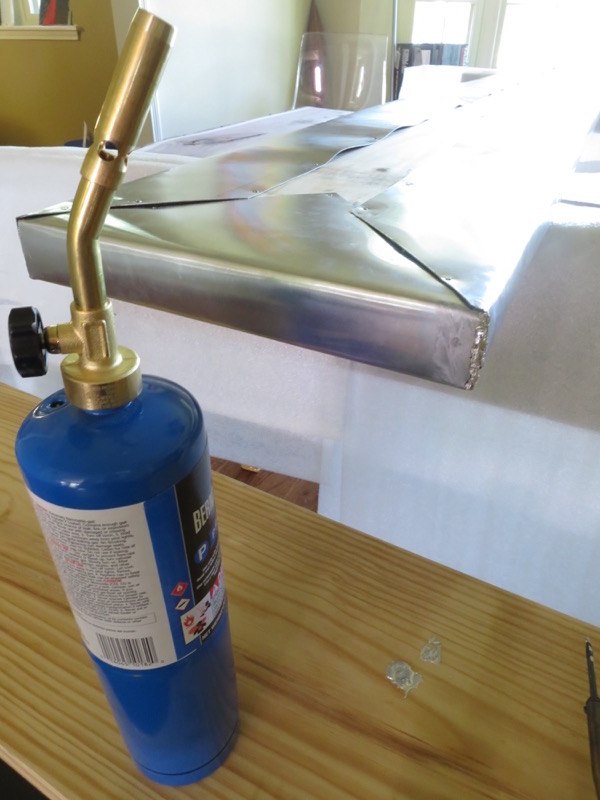
Third trip to Lowe' s, to find how I can solder the corners. Someone said that it was easy with Zinc. |
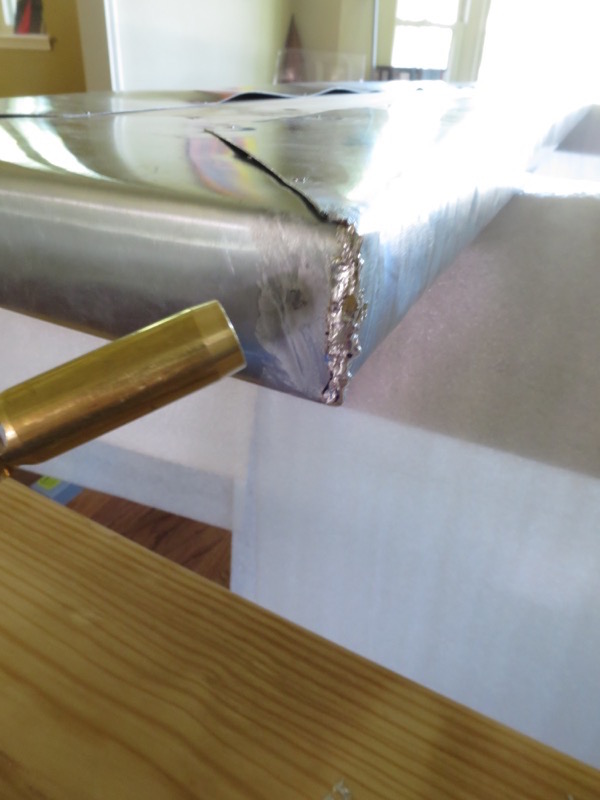
In fact it is easy, as long as you don't melt the actual sheet, but just the Zinc thread! |
A little bit rough, but we will work on that. |
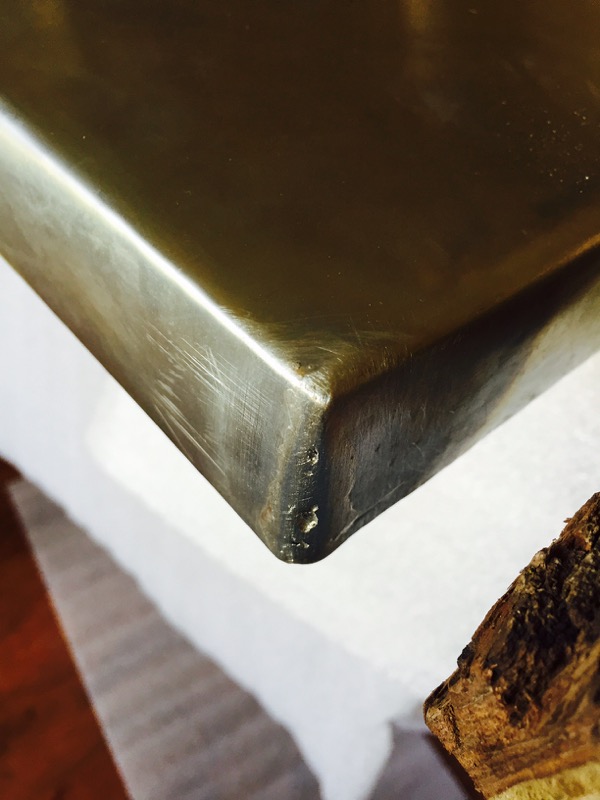
Sand paper, yes that works on Zinc. |
A little bit more, and you will barely see the difference! |
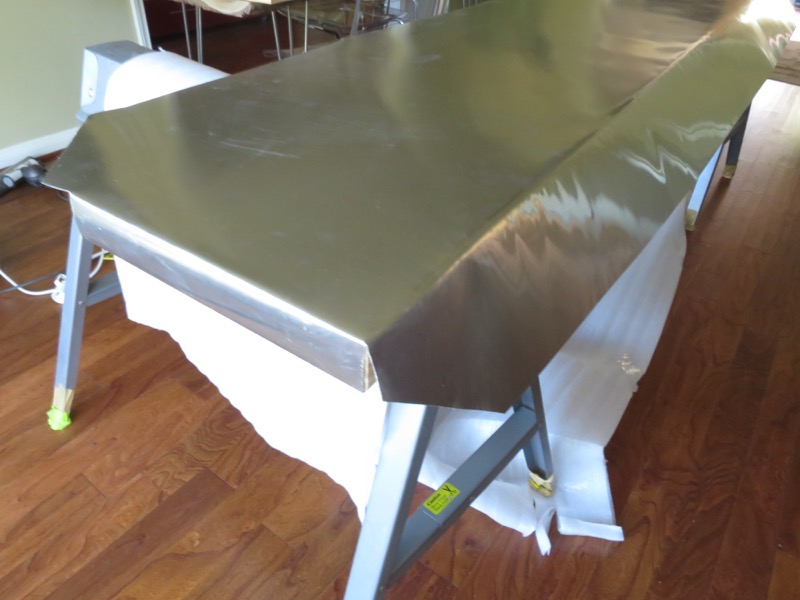
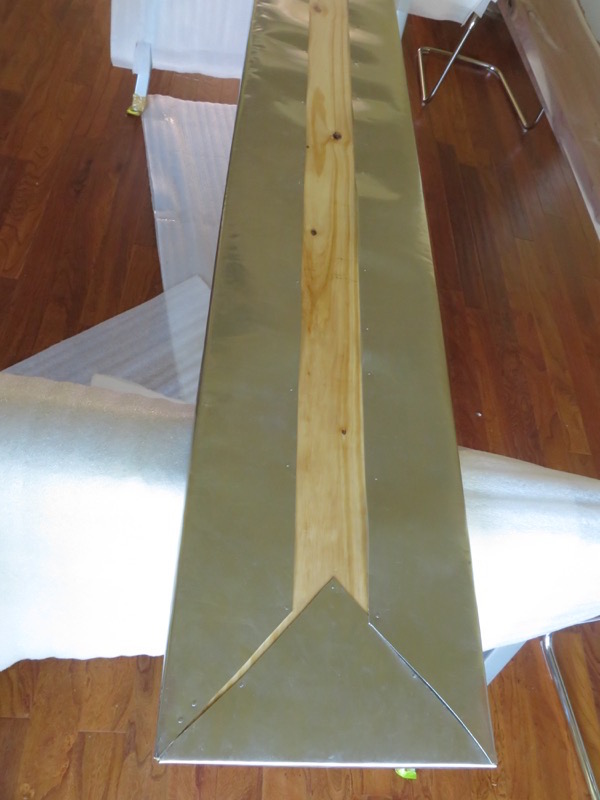
Tadaaaa! That's it.., pretty nice, happy |
Even more happy when the slabs and the Zinc doe fit all the way! |
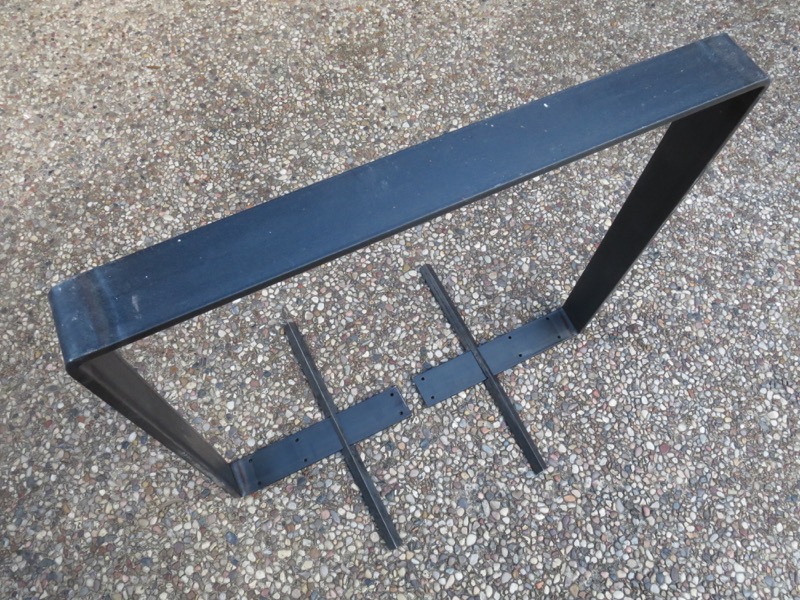
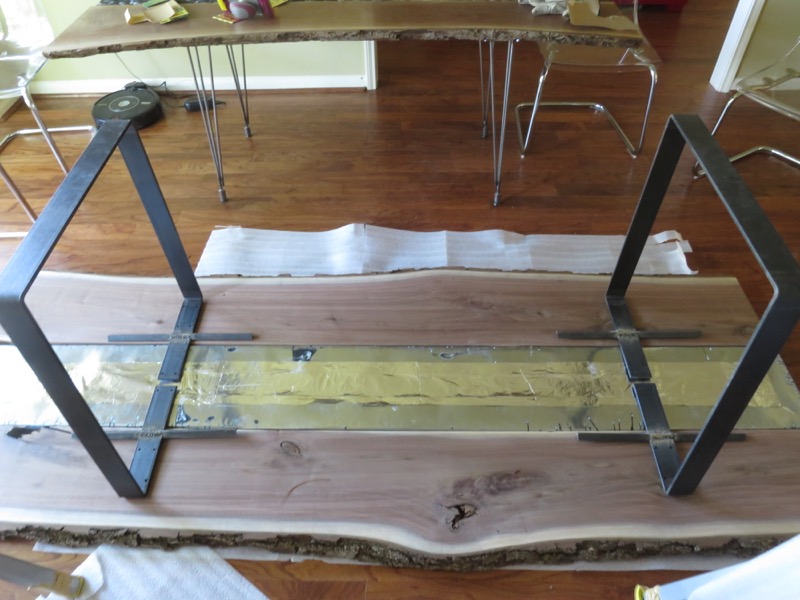
Now onto the legs. I just received them. They weight a tone, which is great as the table does weight even more! |
I am worry that the bolts will not be enough to avoid sliding motions. So to avoid having the table collapse in the middle of the dinner, I have decided to remove that degree of liberty with bars. Guess what, I will need to weld them! |
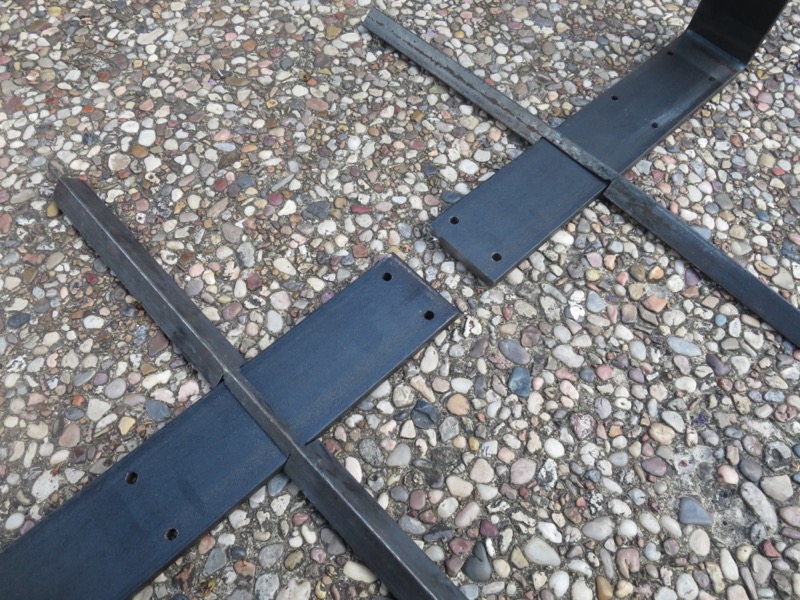
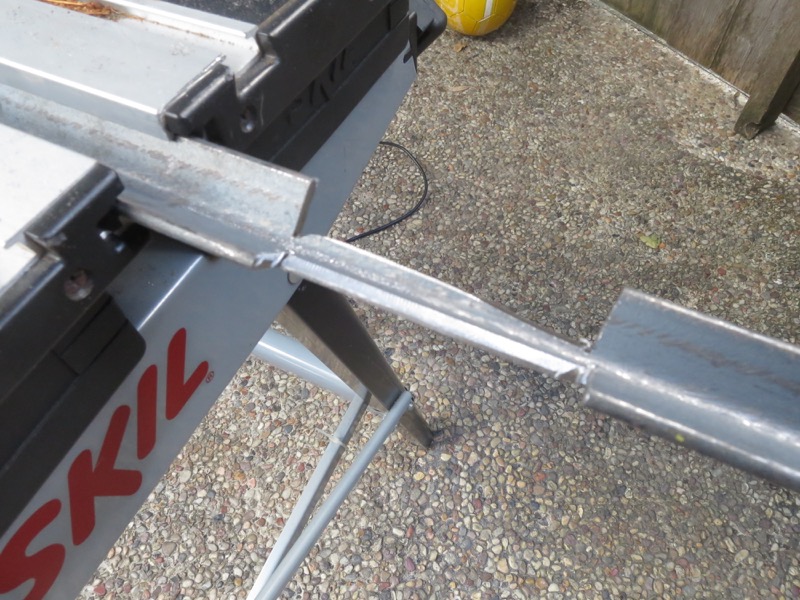
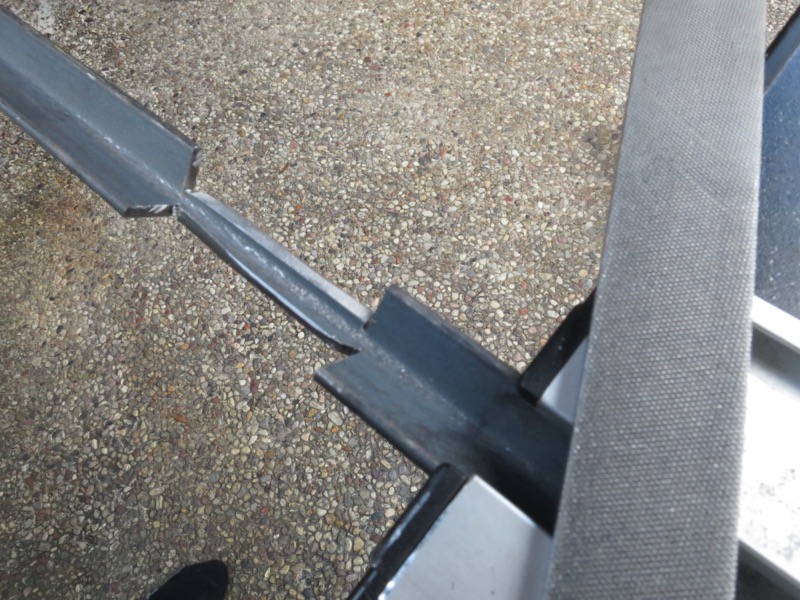
First part, another sweat part, and 2 new blades on the electric saw: Creating slots for the legs to fit. |
A little bit of adjustment. Ok, it may not be perfect, but anyway that will be under the table top, out of sight! |
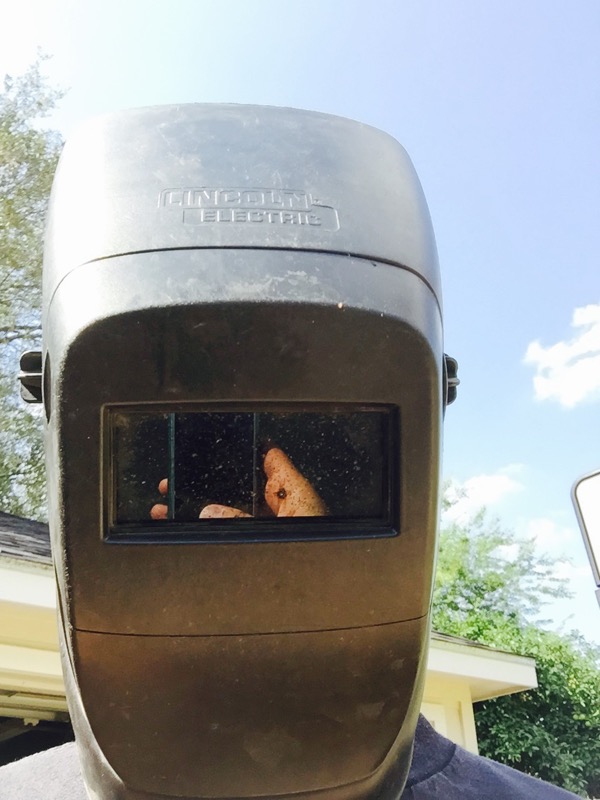
Fourth trip, this time to Home Depot to rend for 4 hours a welding machine. |
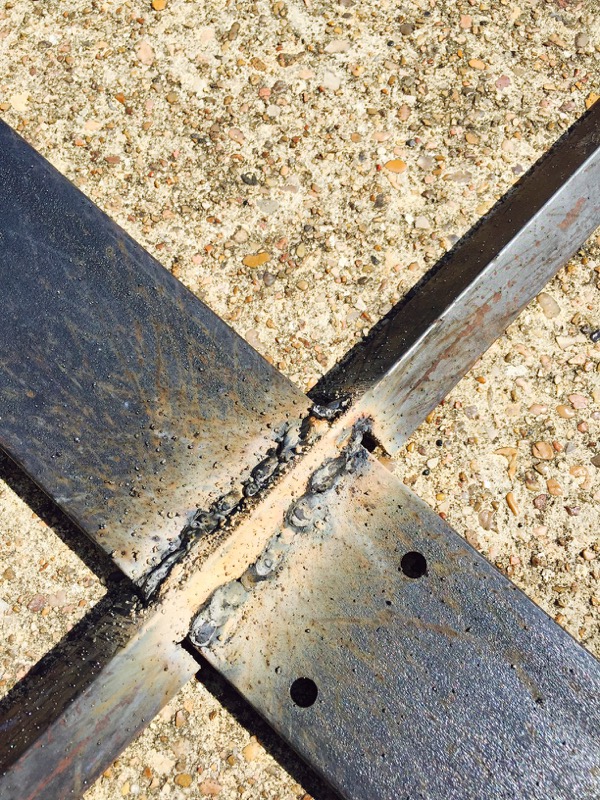
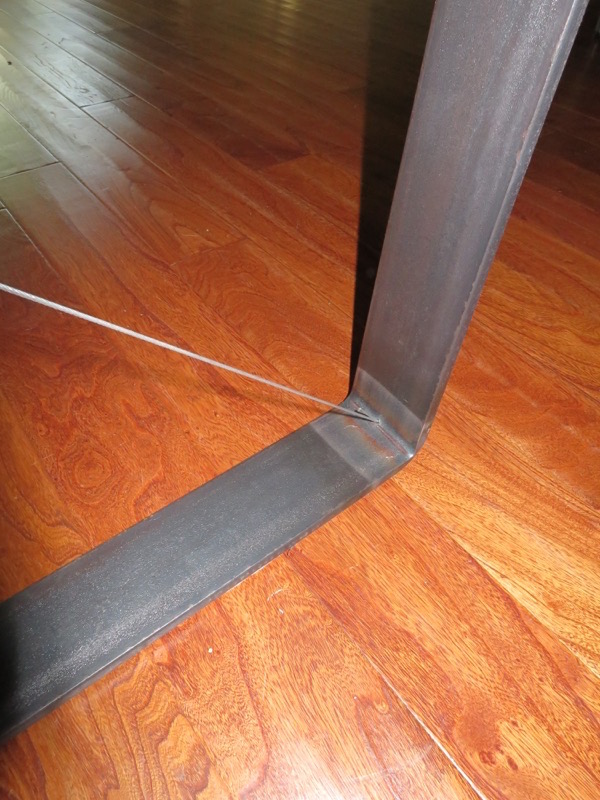
First welding ever! Ok, this is pretty dirty one, but I am happy! The strain on the bar should be inexistant anyway, this is just for safety, so that will hold for sure! |
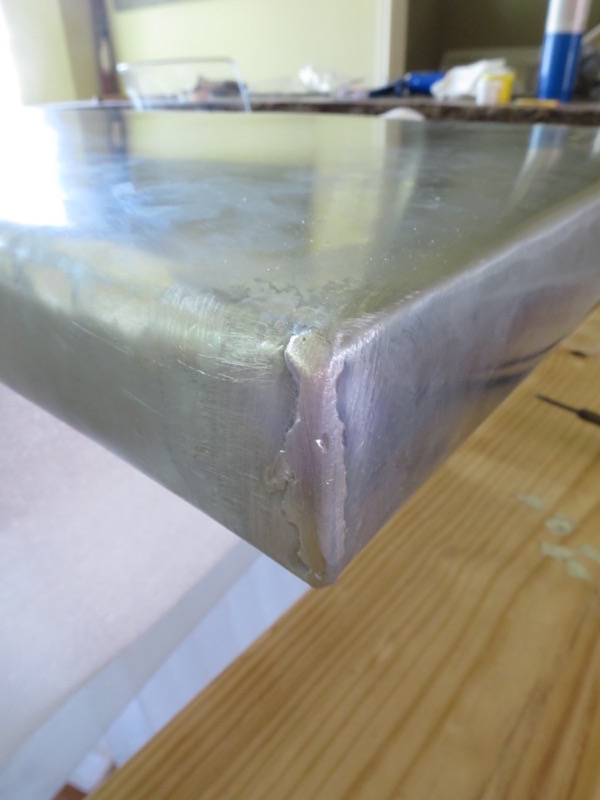
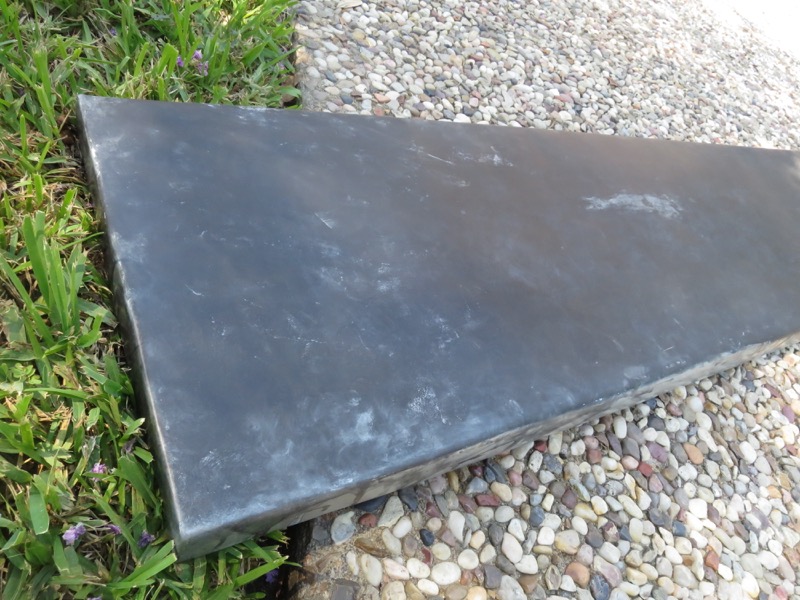
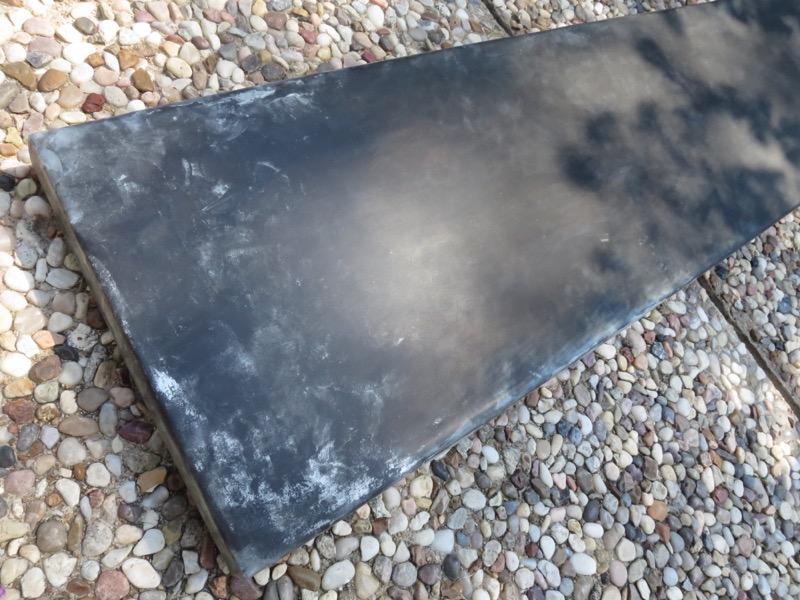
Now back on the main piece. To avoid stains on the Zinc, let's age it! So no remorse. A little bit of Cupric Sulfate and the Zinc turns black and oxydized right away. |
Worst case, if you don't like it, you can always use some sandpaper and scrap it |
Let's bolt everything together. Done, but Arrrgggg, I can't turn the table upside down. Too heavy! I had to actually crank it up with a rope! |
That's it.... Done!!! Heeeey, wait, it is wobbling! Haaaarrrgg. |
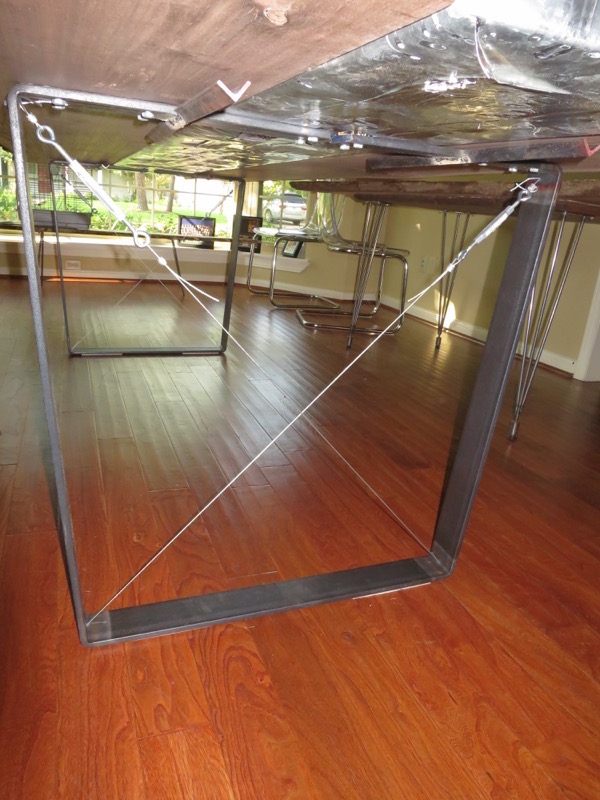
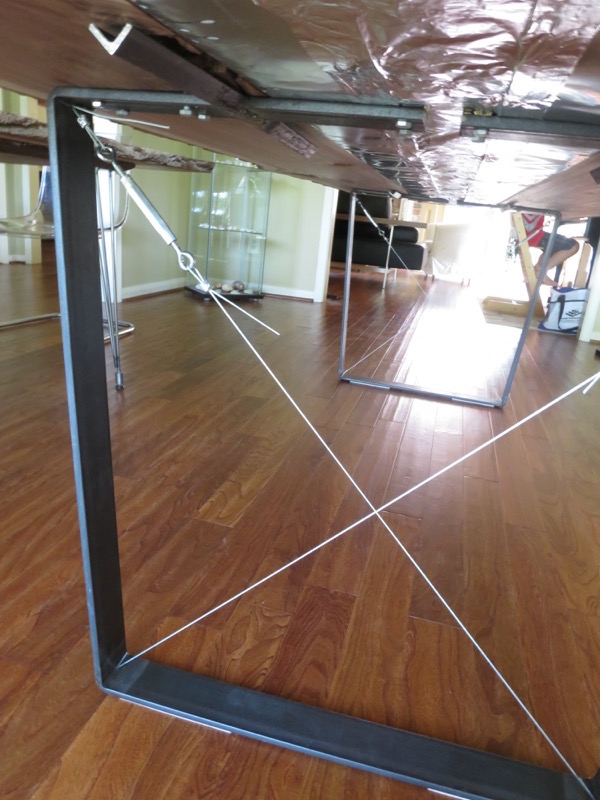
Physics! 2 cross cables, stretched! |
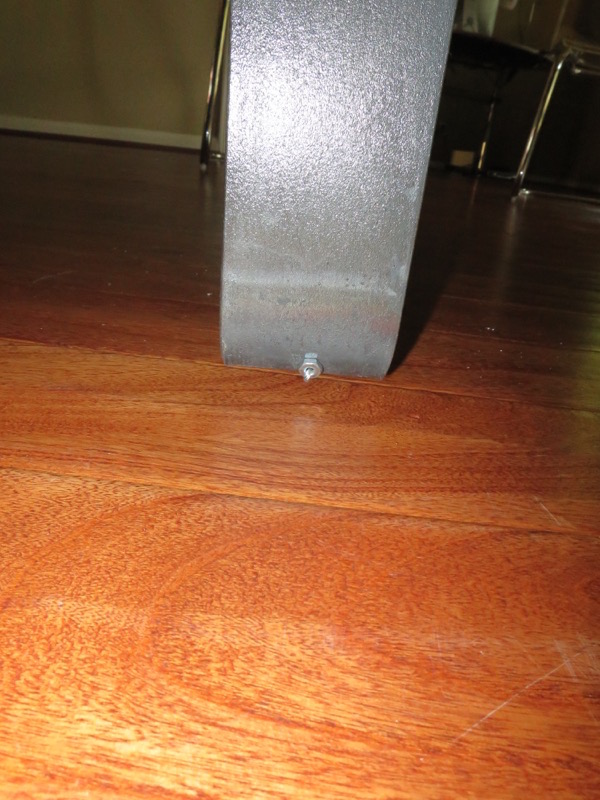
A tiny bolt to stop the cable on the outside. |
2 tighteners on both sides, and pull, pull, pull. Like a guitar string |
And you know what? It does work, the table is not wobbling anymore. |
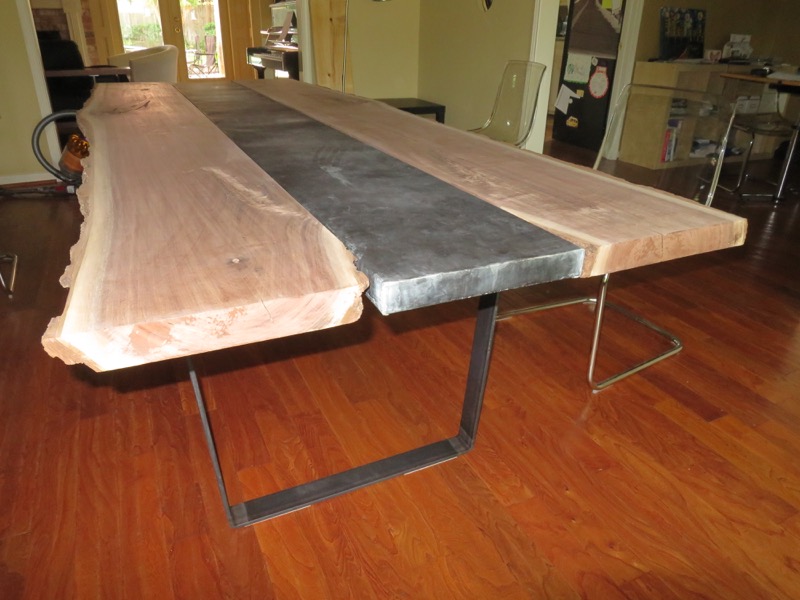
This time that's it... |
Just need some finishing |
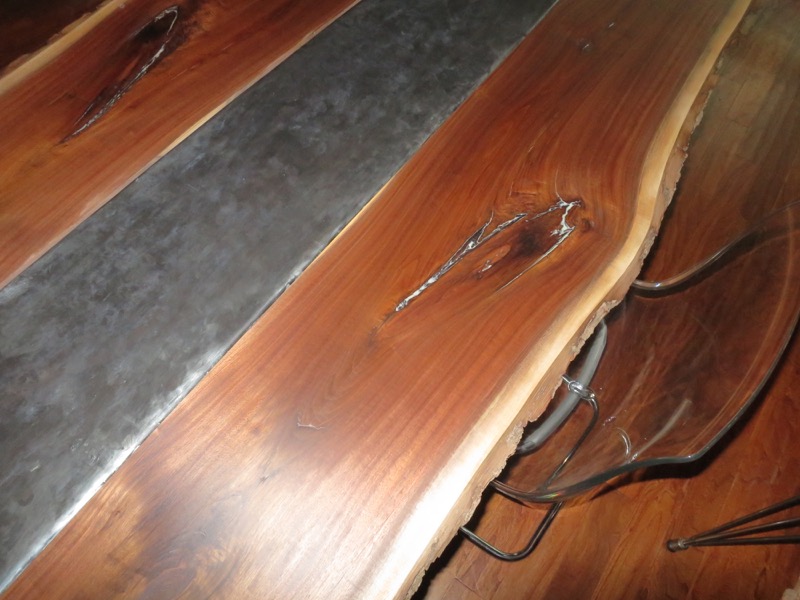
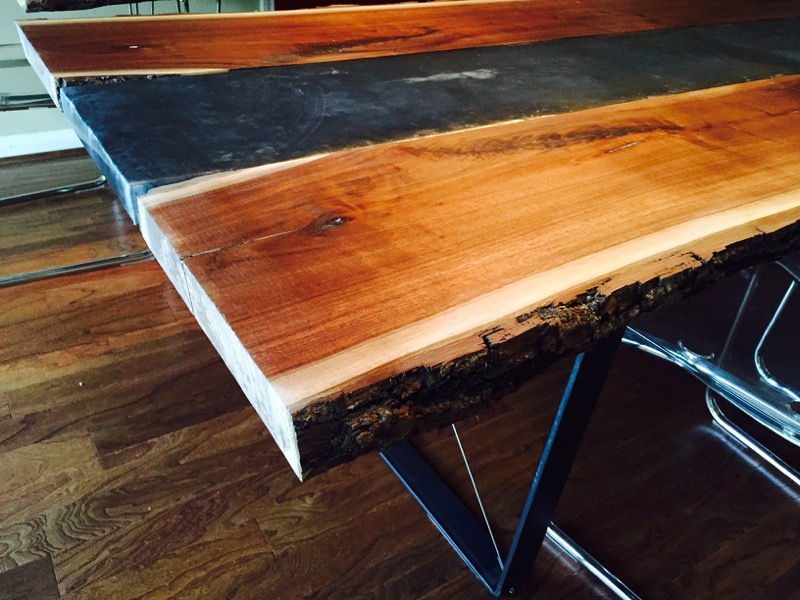
Keeping the natural wood, with the live edge, a simple wax layer on top |
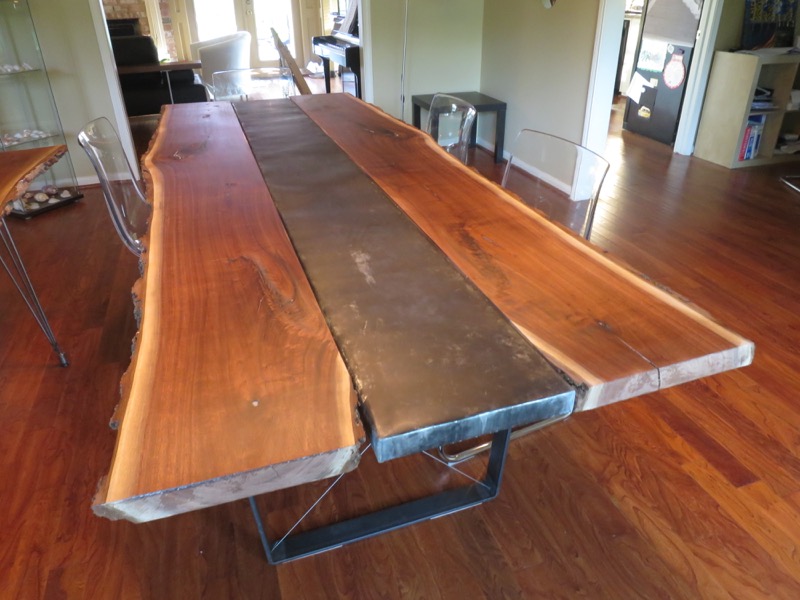
Nice walnut color increase with the bee wax |
That's it, the project is completed ! I am Happy |
With the chairs! |
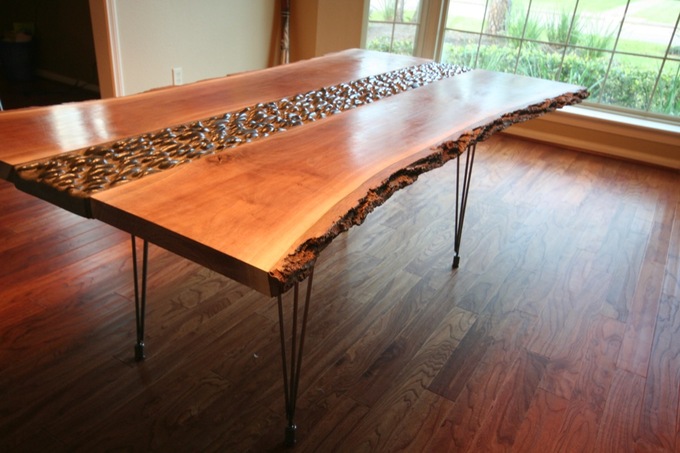


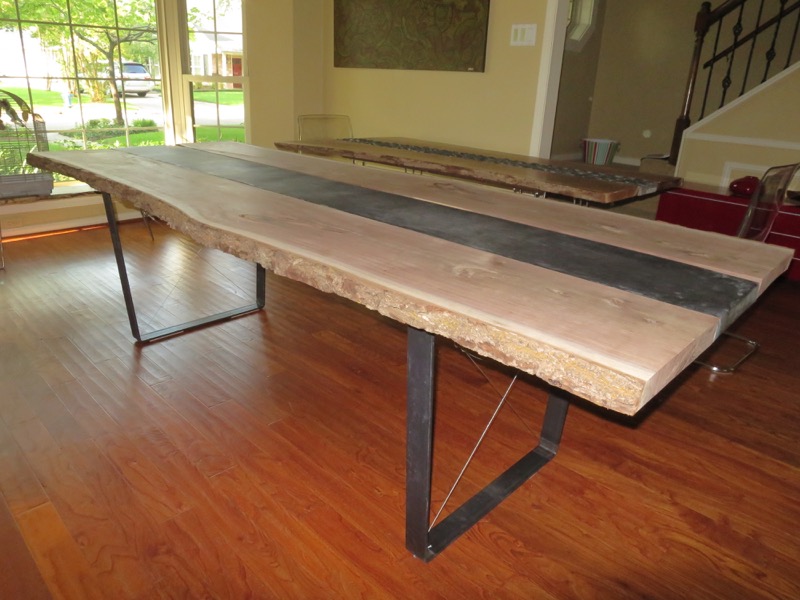
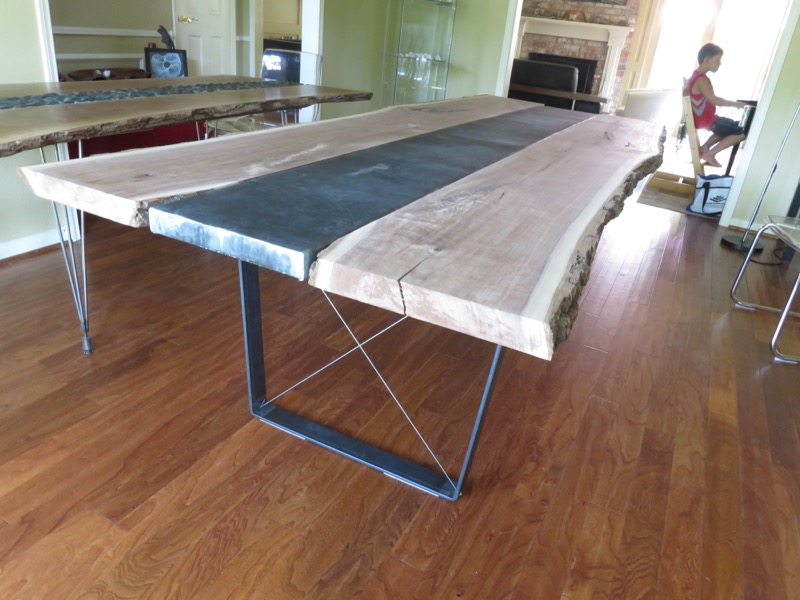
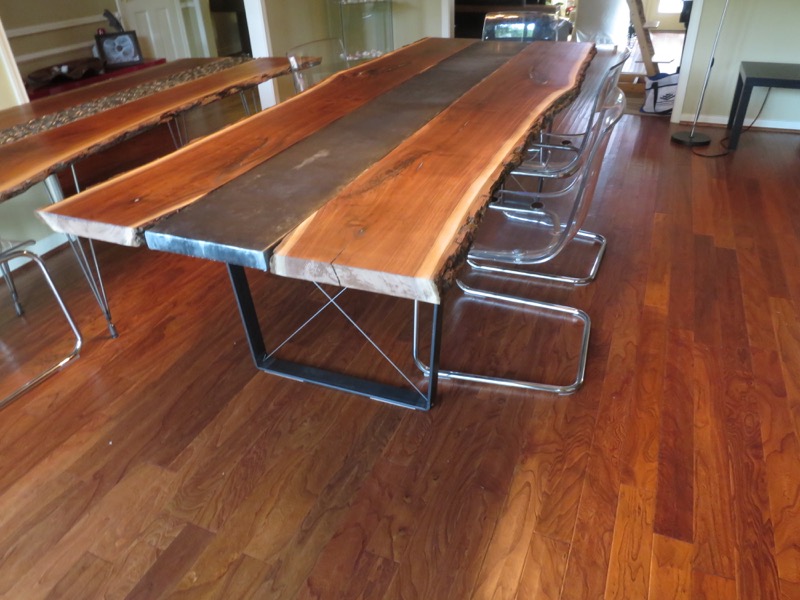
The old table was moved to the kitchen area. The new one is now filling up the dining area.... We just need to call the friends for dinner now, 8 at a time!!!